How to Clean and Condition Solid Wood Furniture and Butcher Block Using Natural Oil and Beeswax
A step-by-step woodworking maintenance tutorial for reviving dry oak, walnut, and maple surfaces without silicone sprays or sticky residue.
By DailyPrimeX Home & Design Desk · · Updated · 3 min read
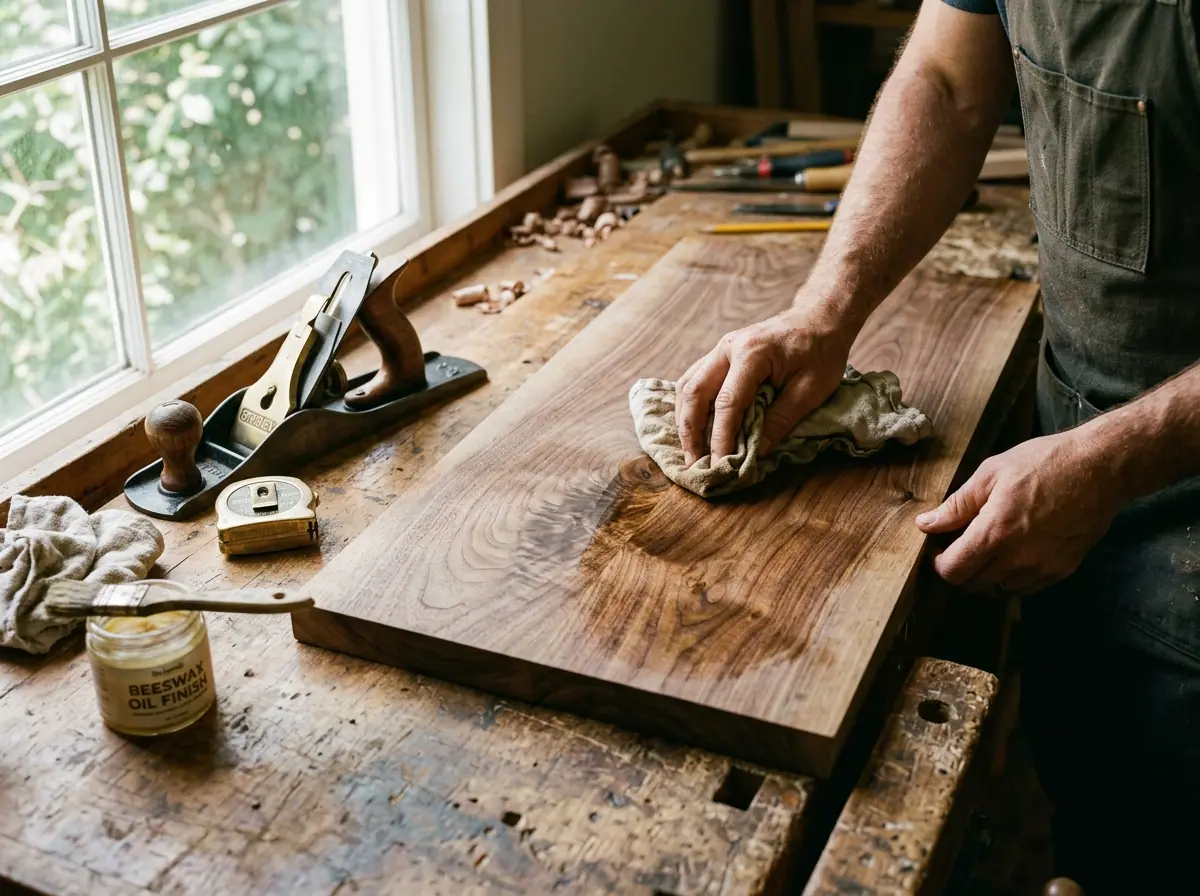
Identifying Penetrating Oil vs. Sealed Film Finishes
Before applying any wax or conditioning oil to a dining table, workbench, or kitchen island, determine whether the timber has a surface film finish (such as catalyzed lacquer or polyurethane) or an in-the-wood penetrating oil finish. Place a single drop of water on an inconspicuous spot: if it beads up tightly on a plastic-like barrier, the wood is sealed with a film coat and only needs damp microfiber cleaning. If the wood grain feels warm and tactile and slowly darkens under moisture over several minutes, it relies on periodic oil and beeswax replenishment. Wood used outdoors needs different products; see our guide to cleaning and protecting teak and cedar.
Kitchen butcher block countertops (typically hard maple, white oak, or American black walnut) and oil-finished dining tables should be conditioned every three to six months, or whenever water droplets stop beading on the surface.
Step-by-Step Guide to Conditioning Solid Wood Surfaces
Follow this four-stage workflow to remove surface oxidation, smooth raised grain fibers, and apply an even protective barrier.
Step 1: Degrease and Dry the Surface completely
Time: 15 mins (+2 hrs drying) · Tools: Two lint-free cotton cloths, Warm water, 2 drops mild dish soap
Wipe the wood surface with a cloth wrung nearly dry in warm water and a tiny drop of pH-neutral soap to remove skin oils or kitchen grease. Immediately buff dry with a second towel and allow the wood fibers to dry for at least two hours.
Step 2: Lightly Knock Down Raised Grain with 320-Grit Paper
Time: 15 mins · Tools: 320-grit sanding pad or cork block, Vacuum with soft brush attachment
If water spills have raised tiny rough wood fibers, wrap a piece of 320-grit sandpaper around a flat cork block and stroke lightly in the exact direction of the wood grain. Never sand in circles. Vacuum away all fine dust and wipe with a dry tack cloth.
Step 3: Apply Penetrating Oil & Beeswax Paste Sparingly
Time: 20 mins · Tools: Food-safe beeswax & oil conditioner, Unbleached linen or cotton pad
Scoop a quarter-sized amount of beeswax-oil paste onto a folded linen pad. Work the conditioner into the wood in long, overlapping strokes following the grain, paying extra attention to exposed end-grain edges which absorb twice as much moisture as face grain.
Step 4: Cure for 30 Minutes and Buff to a Satin Sheen
Time: 15 mins · Tools: Clean dry cotton flannel cloth
Allow the oil and wax to penetrate for 20 to 30 minutes. Then, using brisk strokes with a clean dry cloth, buff off all unabsorbed surface wax until your fingertips glide smoothly without leaving smudges.
Comparing Natural Wood Oils and Wax Finishes
Different household surfaces require different oil formulations depending on whether they contact raw food or require water resistance.
| Finish Type | Food-Contact Safe? | Curing Type | Best Household Application |
|---|---|---|---|
| Pure Tung Oil + Natural Beeswax | Yes (once 100% cured) | Polymerizing (hardens in wood) | Dining tables, desktops, shelving, wooden bowls |
| USP Grade Mineral Oil + Beeswax | Yes (immediately) | Non-drying (remains liquid in pores) | Heavy chopping blocks & butcher counters |
| Hardwax Oil (Carnauba + Plant Oils) | Yes (certified EN 71-3) | Oxidative curing film/penetrating hybrid | Hardwood floors, stair treads, mudroom benches |
| Raw Linseed (Flaxseed) Oil | Yes | Very slow curing (weeks) | Rustic garden tool handles & exterior timber |